Showing posts with label free motion quilting. Show all posts

Monday, April 10, 2017

March was a month for trying new things.  I made two cameo quilts...  I saw a pretty cameo and thought it might be possible to do a whole cloth cameo with my longarm.  So I used a picture of a cameo that might not be so hard to try out the whole idea.  I used two layers of wool batting, hoping the open spaces would show dimension.  I like how it turned out, the piece is 8 inches wide and 15 inches high.  I used neocolor II crayons to paint the background.
This was quilted on my sitdown longarm.


This was all a test before I quilted the larger piece.  This piece is 40 inches tall x 30 wide approximately.  The cameo depicts the goddesses Selene of the dawn and Eos of the dusk.   I used my  Innova longarm to quilt the images (I know, I know - two longarms???).  And I am so happy that I could do that.  I turned off the stitch regulator to do the quilting, it makes the machine run so much smoother - no jerking me around.  I even used the longarm to couch that braid around the circle.  The inner circle is made with a creamy radiance fabric and it is inset into slipper (the pink color) radiance fabric. I still needed to paint in some shadows in this photo.
Here is the cameo that I used to make this quilt.  


I may need to add more wool batting to the chest of Selene... I tried steam and starch to get rid of her chest wrinkles.    I will figure it out.  That's what's fun about trying new stuff, it takes a little finagling to get the kinks worked out - then either it does or it doesn't.  Here is the bound and finished piece.  I am thinking about making a slit in the back and stuffing that wrinkled chest with more batting, then sewing it closed like the trapunto of yesteryear.  

I dunno, it was a fun project, but I think I'll move on to something else.  I have an idea for a new art challenge: Threads of resistance challenge    I don't get too worked up about politics in general, but I am concerned about some environmental issues.  If you want to talk politics with someone, look elsewhere, I just hate that sort of thing.  So I will have my little say with art in this challenge.  I will keep you updated.  

“I realized something on the ride. I realized if I wait until I'm not scared to try new things, then I'll never get to try them at all.” 
― Marie SextonBetween Sinners and Saints

Have a great day, karen Lambdin, proud to be a quilter


Tuesday, February 14, 2017

Cameo quilting

Hi, I know it's been a long time.  I am eager to share a new project that I made last weekend.   I will share how I made it so you too can make a cameo quilt.


I took a photo of the cameo and changed it to black and white in Photoshop.  Then I printed it out onto 4 sheets of paper using Posterazor App.  Taped the papers together to make a large pic.


 Now I used tracing paper to outline the lines that I wanted to quilt on.


 Here is the tracing paper without the picture behind it.  I see I missed a little bit of her head scarf - no biggie, I filled it in.


 Now I have a piece of creamy radiance fabric on top of the tracing paper which is on my lightbox.  I then lightly traced the lines onto the radiance with a pink prismacolor pencil.


I backed the fabric with two layers of wool batting and a piece of purple silk for the backing.  I then quilted all the lines with a pink Glide thread.  


I enhanced some of the creases with cherry pink tsukineko ink and a fantastik applicator


 She's about 15 inches tall and 10 inches wide.


 Here's the back with the purple silk and no paint.

This was a fun project and was just a test sample for a larger piece that I hope to share soon.  Thanks for dropping by, Karen

Sunday, July 10, 2016

Evy's quilt

I have a new one to show today.  This is for my niece Evelyn, who recently graduated high school and is starting college at Appalachian State in August.  I purchased this as a kit.  All of the applique is fused and machine stitched.
  

I used a layer of Mountain Mist cream rose and a half layer of wool to make a thin comfy quilt that still has a little puffiness for the quilting designs.  The thread is Glide.

Those radiating lines were made with a Gadget Gals ruler, Linda Mae's rays.  Love that ruler, I got the 12 inch one.


I used the border fabric as markings for the beadboard quilting.  I quilted a straight line in the center of the loop motif, then one a quarter inch away on each side.  I used my straight line ruler to do this with no marking!


The sashing design is from Kim Stotzenberg's Angel wings tutorial.  I love it!


I marked an inner frame design and filled it with curlicues which looks like lace to me.  I hope she loves it and that it looks good on that dorm bed!

Last week, I took a fun class at a new retreat house in McQueeny Texas, called The Queen's Rustic Retreat.  It was a lovely place and the hostess, Doris Rice is very sweet and we had a lovely time painting a barn quilt.  It is very simple, but will look great on my fence.  


It's about 2 feet wide.  I will spray it with a coat of varnish before I hang it up.  And I plan to make more of these - so fun...

I have a friend who is selling her Innova longarm and I think I want it.  I have tried many longarms, but really didn't think I wanted to go that route.  I have been fine doing my sitdown machine quilting.  However, this is my favorite part of the quiltmaking process - fun and intricate machine quilting.  I don't even make quilts that don't have open space for a quilting design, that doesn't appeal to me.  I love the extra dimension that quilting brings.  Soooo, maybe it's just the thing for me to expand to a longarm.  But it has to be a machine that I can do little tiny quilting designs with.  

So I have tried many different longarms and I had decided that the Innova is the one that will work best FOR ME.  I have watched Gina Perkes, Mary Olson and Renee Haddadin quilt on the Innova and I would love to be as proficient as these ladies.  I tried the Innova at two different quilt shows and decided that is the machine that I will get IF I ever get a longarm.

Last week, I looked at Longarm University to see if there were any used Innovas.  There was one, and it was about 5 miles away and owned by one of my guild acquaintances.  So I checked it out yesterday and after sleeping on it, I think I will get it.  So, I will be transitioning to a longarm in the next few months.  It's going to be a scary journey for me, but hopefully a fun one.  


Sunday, February 15, 2015

FMQ Class Samples

I taught a couple of free-motion quilting classes this week and WOW were the quilters awesome!   The first class was a beginner class and they learned as they worked on this beautiful Riley Blake Woodland Tails panel.


I quilted this in what I hope is a fashion suitable for beginners.  It was certainly within reach of these gals, they were great...

In another class, we learned free motion feathers: three types of feathers and lots of designing with feathers.  Here is a sample placemat I designed for the class.  Since it was Valentine's Day, I made the runner with hearts and in red.  


The hearts were quilted with "bump back" feathers (or Humpback feathers as Joanne calls them).


the feathers on the pointed edges of the runner were quilted with "lacy" or "hooked" feathers.


And the sides had a little row of traditional or "longarm" feathers.


I put all of this here in case some of the quilters want to see the sample when finishing their runner.


I also brought my feather sampler (one I made for classes).  It has feathers of all kinds on it, some stencilled designs, and lots of free-form feathers for ideas and practice. 

I am getting back to this project now that I have a little break from teaching.
Just a teaser, this is the back of the quilt.  You may have gotten a peek at this on my first blog entry when I was talking about drag.  I am getting excited to finish this and see it finished!  I will take lots of pictures of the top when it is finished.  


Tuesday, February 10, 2015

orphan block quilt


This quilt was made with orphan blocks donated to Alamo Heritage Quilt Guild .  the blocks were handed out as a challenge to make quilts for our auction or for charity.  I saw this as an opportunity to practice some free motion quilting.

Let's look a little closer, some of the blocks are hard to see.  

This little pink basket was easier to see than the other one.  Oh, and you can see that this is a project from 2013.  But hey, I took lots of photos in the hopes that I could someday blog about it!


I just love that filled curved cross-hatching.  It has such a neat textural effect.

This quilt was sold at our guild auction last year.  I hope the recipient likes it.  


Saturday, January 31, 2015

What a drag!

FMQing is such a drag!  Don't get me wrong, I love the quilting part, but I think that the hardest part of FMQing on a sit-down machine is the pulling, tugging, and manipulation of a heavy quilt;  NOT fitting the quilt into the arm of the machine - to me that's not so hard.  So I found this great invention called a Jennoop.


I do all my quilting on stationary machines, either my Bernina Virtuosa 153 or my Pfaff Powerquilter (shown here- it's like a Sweet 16, but with Pfaff label).  So this Jennoop quilt suspender is a wonder!  I quickly clamp the doggone dragging part of the quilt so I can easily manipulate the section of quilt I am working on.  It is easy to unclamp and shift to reclamp in another spot.
Here is a simpler version of the quilt suspender.  I bought a dog grooming arm for $35 and added another clamp to the strap that came with the arm.  It easily clamps to my  Bernina sewing table so that it is portable.  I can take it off when I don't need it and I can bring it to classes, retreats, and workshops too.


Here is a recent finish.   It was a wholecloth bee challenge.  So I used a piece of purchased tie-dyed fabric that I had for several years and always wanted to do something like this with it.


The quilt is 40 x 40".  It has wool batting over Mountain Mist Cream Rose cotton.  


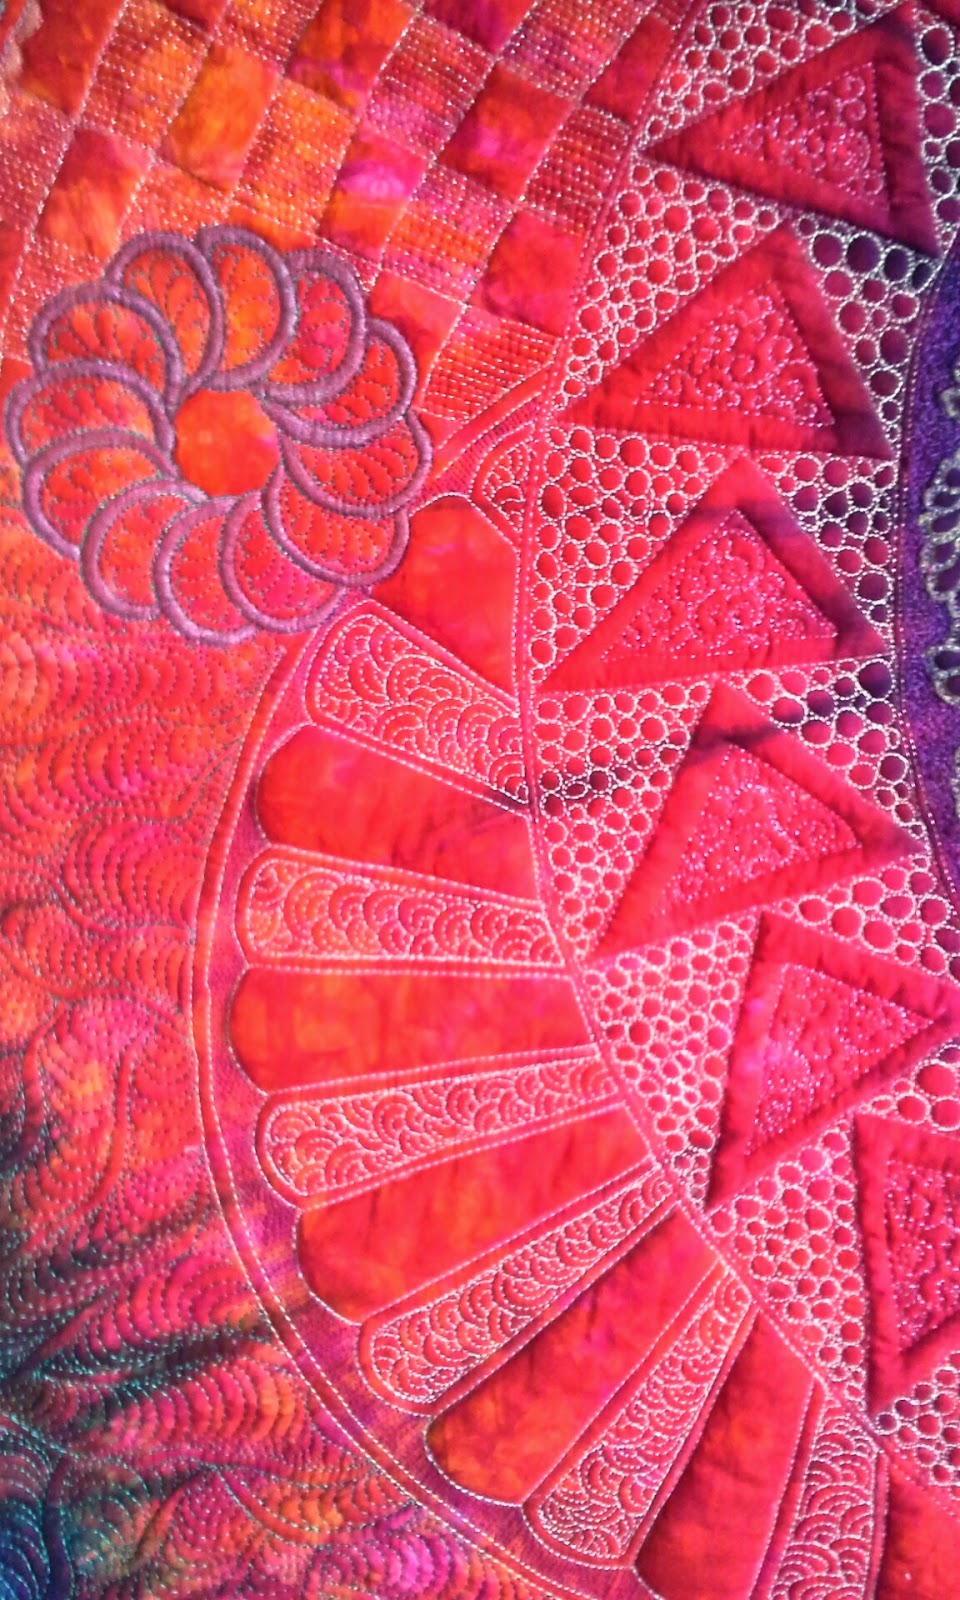
I experimented with lots of different threads, including Wonderfil and Superior metallics, lots of Glide, Bottom Line, and wonderfil Invisafil.  These Amish feathers were lost but so pretty.  The only thing I could think of to make them pop was to paint each feather with Lumiere paint and a fantastix applicator.  That did the trick, but it might have been quicker to rip and re-quilt with a heavier thread!


I had so much fun quilting the "worms" in the background.


And that filigreed-looking flower was a stencil filled with little swirls.  I still don't have a name for this quilt.  Any ideas?

I hope you will come back to see my next post!  I am a little nervous as this is my first one ever...  Karen